This post about DIY Pet Projects: Adjustable Dog Collar is sponsored by True Chews® Dog Treats and the BlogPaws® Pet Influencer NetworkTM.
I am being compensated to help share information about the True Chews line of all-natural dog treats , but Close To Home only shares information we feel is relevant to our readers. All statements made reflect my true opinion of the product. True Chews is not responsible for the content of this article.
If you have been a reader of Close to Home for any period of time, you know our dog Chloe is considered a fourth child. She goes everywhere she possibly can with us. Just this summer we planned our family vacation to Maine with her in mind.
Since she was a puppy, there was no question she was my dog. I had wanted a Golden Retriever since I was out of college and finally got my wish 6 years ago.
Despite the numerous hairballs around the house and her passion for other people’s food, I would not trade this dog in for the world. (now my kids I have offered to rent them out!)

How to Make Adjustable Dog Collar With Ribbon
Now that the kids are back in school Chloe and I have more free time around the house. When I am not working she is following me around the house.
Looking into some super easy DIY Pet Projects, we decided on a new adjustable dog collar that was in the cards.
What you need for this DIY Adjustable Dog Collar:
- Webbing like nylon, cotton or polypropylene
- Cute Grossgrain or embroidered ribbon the same width as webbing.
- Pair of scissors
- 1 D-ring,
- Slide lock and plastic snap
- Sewing machine
- Flexible measuring tape
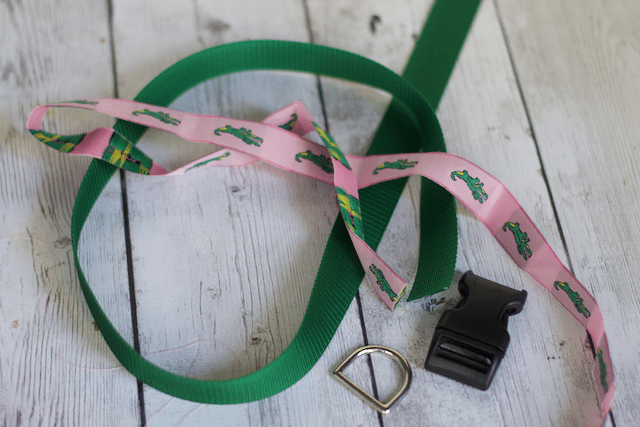
Step 1: Cutting the Webbing
Chloe’s neck size is 21 inches, so she will need a DIY large sized dog collar. She will need 32 inches of webbing. It will adjust 20-24 inches
- Medium collar will need 26 inches of webbing and will adjust 16-20 inches
- Large Collar: 32 inches of webbing- will adjust 20 to 24 inches
- XL collar cut 38 inches which will adjust 24-28 inches

Step 2: Adding Ribbon
If using ribbon, first sew this onto your webbing. You can use hem tape to place it on the webbing before sewing.

Step 3: Sewing on the Slide Lock
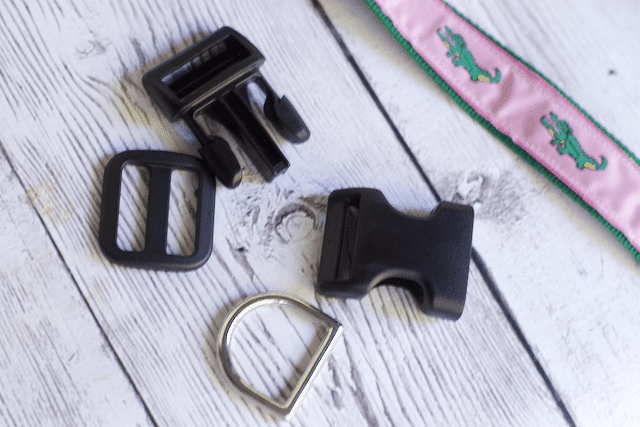
Thread the webbing through the slide lock, leaving approximately a two inch piece of webbing to sew together. Sew two seams, up and down, across the webbing. Triple stitch these seams by using the reverse button on your sewing machine.
Step 4: Threading the Snap Onto the Webbing
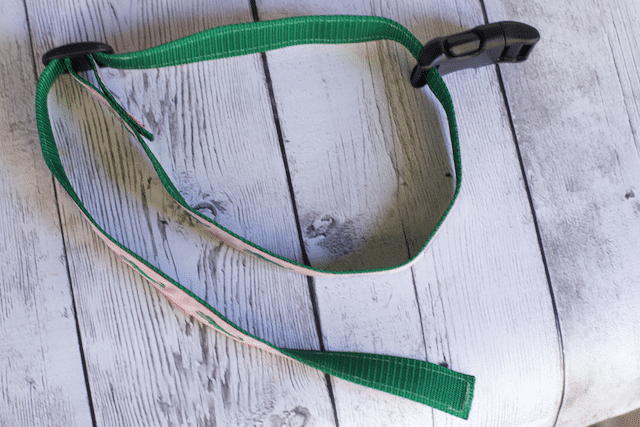
With the fold of the webbing facing OUTWARDS, thread the webbing through the side of the snap that has the single slot. It is important that the curve of the snap is facing downwards, like in the picture.
Step 5: Threading the Snap Part

Now run the webbing through the D-ring. Next, thread the webbing through the first slot and second slots of the other side of the snap.
Adjust the webbing so that there is a Three-inch allowance of webbing to be sewn. Move the D-ring between the two pieces of webbing.
Step 6: Sewing the Snap Part One

Take the snap apart and sew a seam as close to the snap as you can. Triple stitch this seam by using your reverse button on the sewing machine.
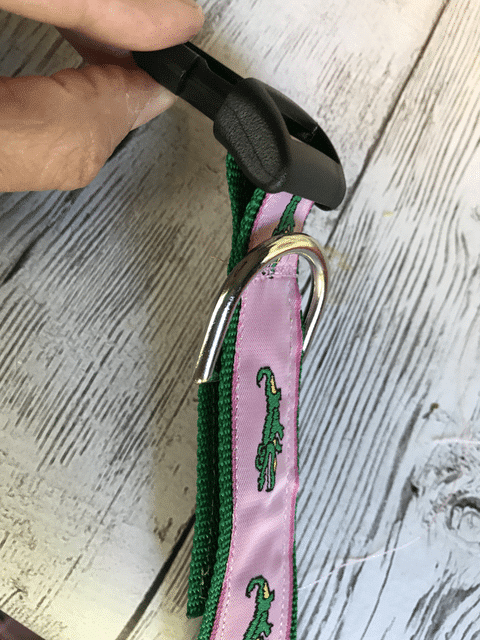
Step 7: Sewing the Snap Part Two
Move the D-ring close to the last seam you have sewn. Sew the two seams with the snap of the collar facing to the left. This will prevent the D-ring from getting hung up on the sewing machine foot when you are sewing.

Finished DIY Dog Collar
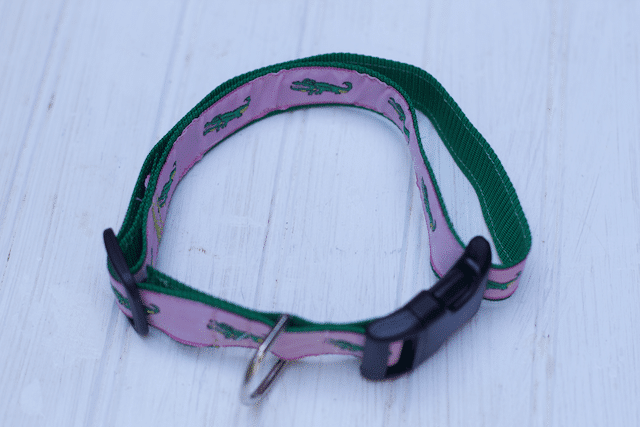
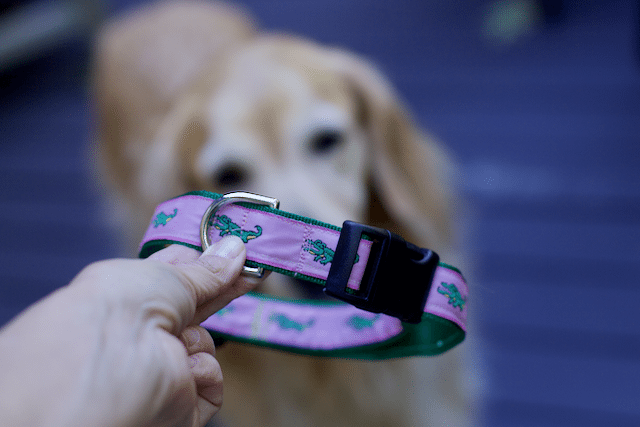
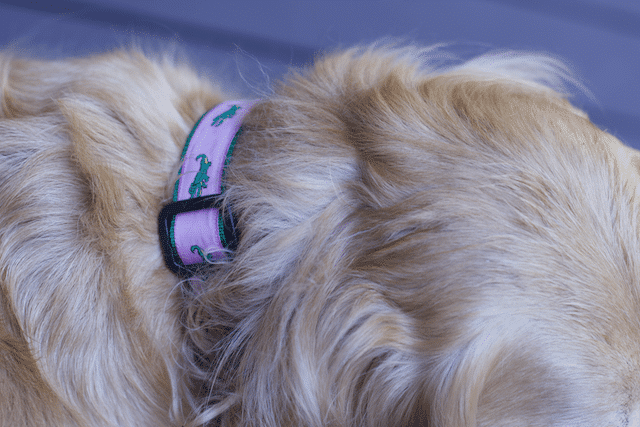
Don’t you just love the preppy colors against her Golden fur?
STEP 8 Snack Time
Now it is snack time. We recently discovered True Chews® Dog Treats. Have you seen them? True Chews Dog Treats are made using only natural ingredients.
- No artificial flavors.
- No artificial preservatives.
- No meat by-products.
- Just 100% natural ingredients with premium cuts of meat always #1 on the list.
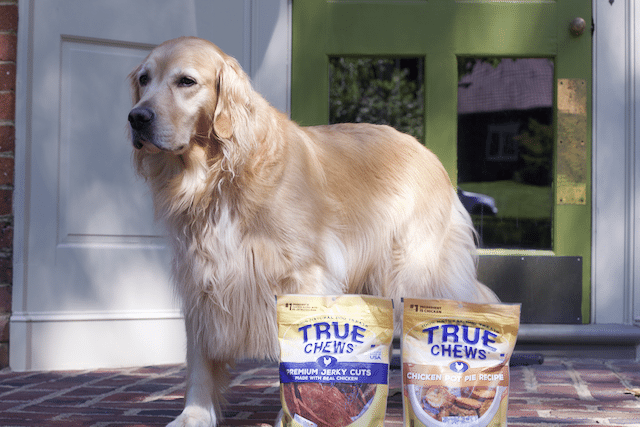
Another important factor we look for when buying All Natural Dog treats, is the Made in the USA Stamp on each bag.
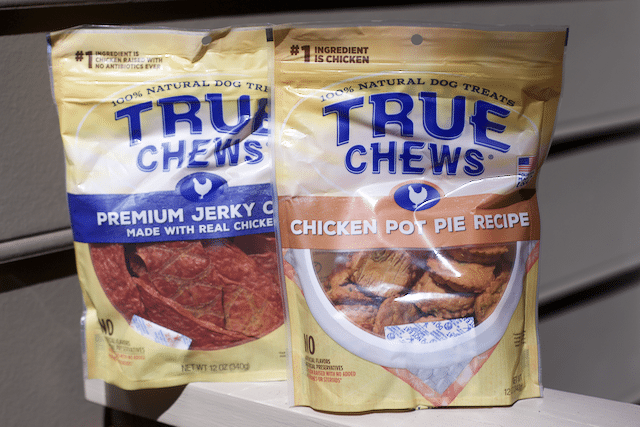
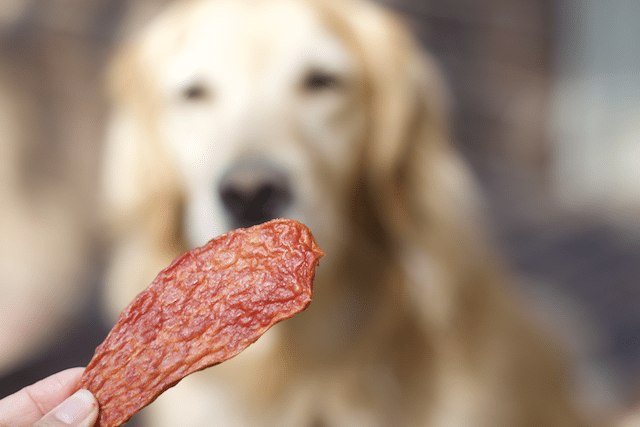
The first time I gave Chloe a premium Jerky Piece, she gobbled it up whole. I will be breaking them apart so they last longer in the future.
Find a store that carries True Chews
Check out our video of our day to day activities and how to make her adjustable dog collar.
Make your Life’s Journey with your dog that much more special with 100% Natural Made in the USA True Chews Dog Treats. Treat them well! Be sure to follow Chloe on Instagram too.
This is a sponsored conversation written by me on behalf of True Chews. The opinions and text are all mine.

Pin this for when you are ready to do this DIY Pet Projects




I love this DIY collar! Chole looks beautiful with it on. Dot our Beabull loves True Chews too. I really like the Chicken Pot Pies because I can break them into pieces. She loves them because she thinks they taste great!
I’ve always hated how uncomfortable some of these collars are for dogs. I really like the idea of being able to do this and make your pet more comfortable.
Oh my goodness!!! How cute it this!! I want to make one now and those treats look great. Makena Rose the Boxer would love them. 🙂
What a beautiful dog! I love the collar idea and it is so cute. Looks easy to do. I have two pups and True Chews are there favorite and they are reasonably priced too.
Thanks for the tutorial on how to make a nice collar for my fur baby. I usually get the store bought ones, but this time I can make one really special one for him. Maybe a Christmas themed collar would be nice. 🙂
I never thought to add ribbon to my dog’s collars before. What a way to snazz it up and make it special.
I am in love with this DIY adjustable collar, I know that my pug could use an upgrade. This would be a fun project for my teen to create our Jenny the pug a new collar. Will share with her!
Aw Chloe is a doll. And this is a lovely little project! Makes for a nice stocking stuffer too for pet lovers.
Such a great DIY for the pups! I will send this to my SIL they have 2 pups. We dont have one yet!
All that work creating the adorable collar and snacktime is in order for sure! I think you deserve one too though. 🙂 This is such a great project and pretty easy!
That is a super cool collar. I wish I had a dog to make one for. I love how this could be totally customized to any design, too.